
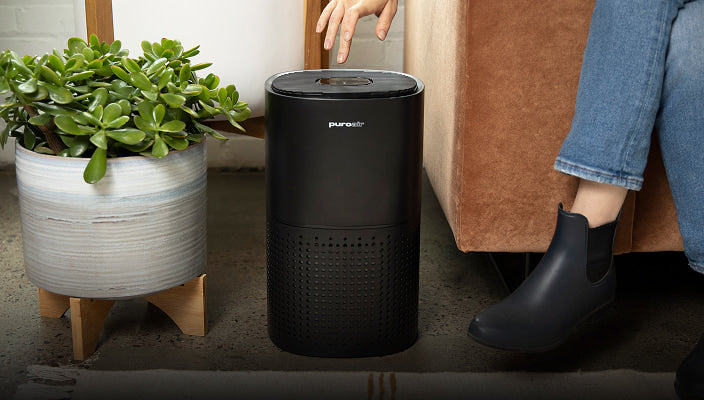

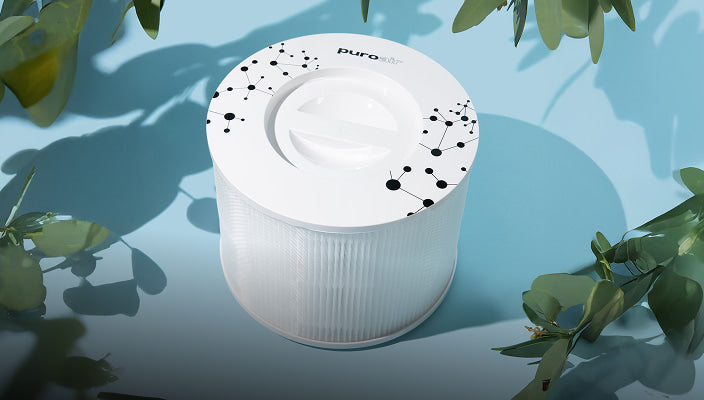
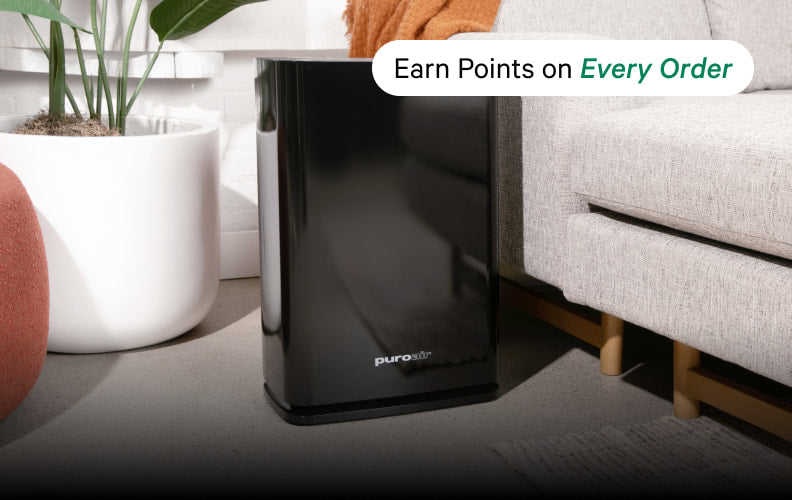

PuroAir is excited to launch a brand new model to add to your home’s lineup of air purification: the PuroAir 130. The PuroAir 130 is designed for smaller spaces up to 600 square feet. It is the perfect fit for bedrooms, offices, dorm rooms, nurseries, and more. The 130 is also Wifi and Bluetooth enabled, app connected, and is even voice compatible for hands free operation with Alexa and Google Assistant. PuroAir’s new app will allow you to turn the purifier on and off, adjust purifier settings, track filter life and manage subscriptions all from your phone.
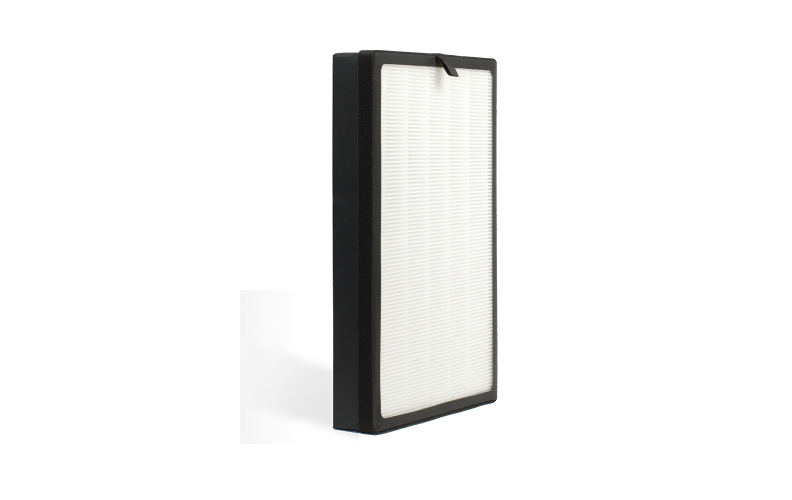
While all this new technology is great, rest assured PuroAir’s amazing quality has stayed the same. The 130 boasts the same 3-layer filter system including a pre-filter layer, a high efficiency particle filter layer, and PuroAir’s CarbonTechTM activated carbon layer. This filter filters up to 99.9% of airborne particles out of your air—just like our larger models. Early users have reported better sleep quality, reduced allergy symptoms, and reduced indoor pollution. Like our other models, the 130 filter needs to be replaced about every 90 days for optimal performance. Here are the steps to replace the filter in your PuroAir 130:
Before You Begin:
Make sure the unit is turned off and unplugged for safety.
Step-by-Step Instructions:
1. Check Filter Life Indicator
Open the PuroAir app to check the filter life indicator. When your purifier is ready for a replacement filter, proceed to the steps below.
2. Turn Unit Upside Down
Carefully flip the air purifier so the bottom is facing up.
3. Unlock the Base Cover
Find the white arrow on the base. If it's pointing toward the lock icon, the base is currently locked. Grip the handle and twist counterclockwise (to the left) until the white arrow lines up with the unlock icon.
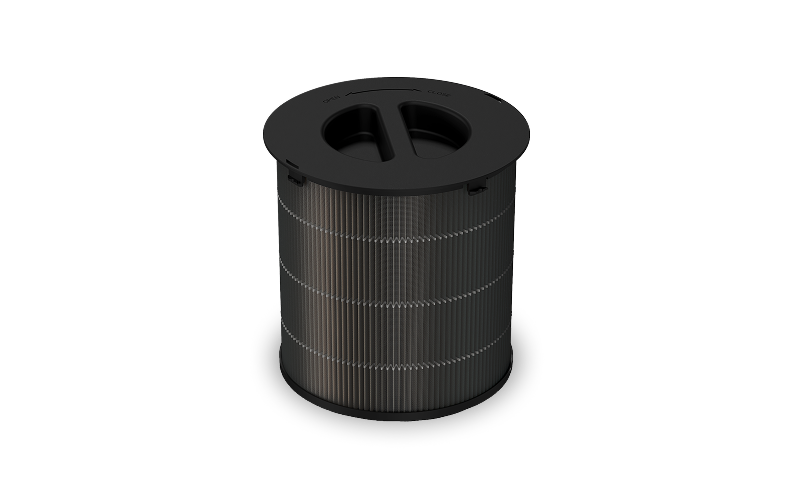
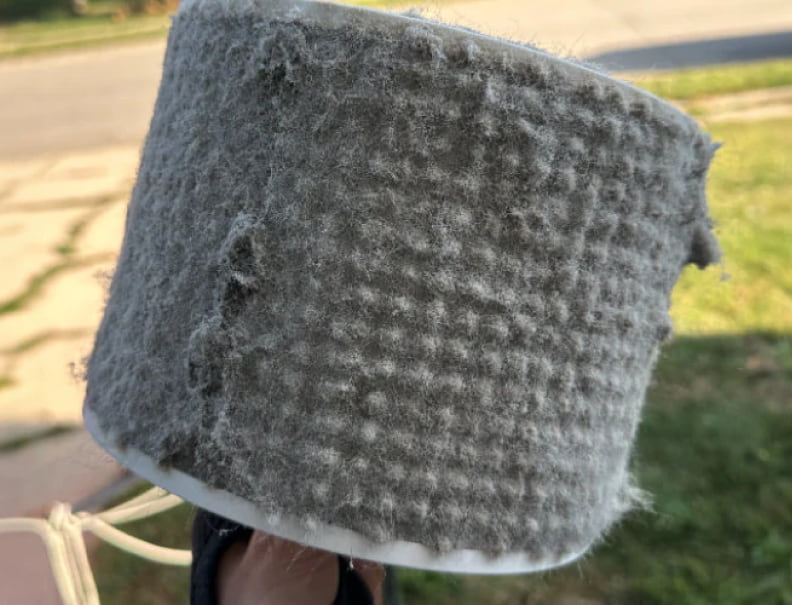
4. Remove the Filter
Once unlocked, pull the filter straight out from the base of the unit.
5. Unwrap the New Filter
Take the new filter out of its plastic packaging completely.
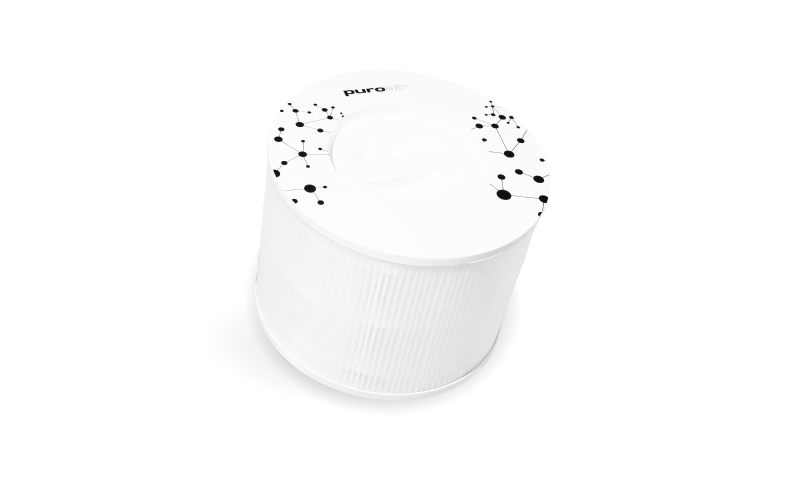
6. Insert the New Filter
Align the new filter so the white arrow lines up with the unlock icon, then gently push it into place
7. Lock the Base Cover Back On
Line up the white arrow again, then twist clockwise (to the right) until it aligns with the lock icon. The base should feel snug and secure.
8. Plug the Unit Back In and Power It On
Flip the unit upright, plug it in, and turn it on.
9. Reset the Filter Indicator on the Purifier
If the filter indicator light is red on your purifier, press and hold the filter life button on the control panel of your purifier for 5-10 seconds to reset to white.
Now, your PuroAir 130 is all set and will continue to filter particles and pollutants out of your air for the next 90 days until it is time for another replacement. To make the filter replacement process even easier, consider signing up for PuroAir’s filter replacement program. When you sign up for the subscription, you save 25% on all future filter replacements, activate a lifetime warranty on your purifier, plus, you’ll never have to worry about not having a new filter ready on time. It’s one less thing to add to your to do list and you save money? It's a win-win.
Check out PuroAir’s new 130 model here, and ensure even your home’s smallest spaces are benefitting from clean air.